When I started using using Vue as my front-end framework, I tried to use it with Bootstrap of just plain old CSS. However soon, I realized that things were not as fast as I wished. Then I discovered Vuetify as the Material Design CSS/Components framework that can be used along Vue.js to supercharge your development tools. So what I wanted to quickly address in this article is how can you style your components using Vue. The most common way that come to mind is using plain old CSS. However Vuetify has slightly different approach. So let’s digg in and see the different way you can style components, and which way is the productive way.
1- Using component props
Many components has props that allow quick style change. For instance the v-card v-btn v-chip and many components have the color property which you can set like this:
<v-card color="orange">...</v-card>
Other props that allow for quick style change would be something like:
<v-container px-2>...</v-container>
in this case we are changing the paddings on this component by using this prop.

As you can see above, you can simply control the color, padding, alignment of the card component by just using few props without the need to use CSS at all
2- Using the class property
Every Vuetify component comes with a very handy property called class . And you can use that class to change many styling props like the color, font, padding, alignment… However you need to know which CSS classes to use in order to make the changes. Vuetify have already defined many CSS classes to control many style. For instance to change the font color to red you simply say class="red--text" or to change the typography or the fonts you can use one of the predefined font styles like this class="subtitle-2" . You can also change the background color of a component using the class prop like this class="grey" let’s change the the example above to use the class property.
As you can see in the code above, we changed the color of text and background using class prop. We also change the font in the same way. I also want to mention that Vuetify have created the CSS classes for all these styles and made them available for us to use without the need to touch the actual CSS.

3- Using in-component style and CSS
The third option that Vuetify encourages is using CSS styling within the single file components. In this method you simply write plain old css inside the <style>...</style> tag within your component. Let's see how we can change few styles using this approach
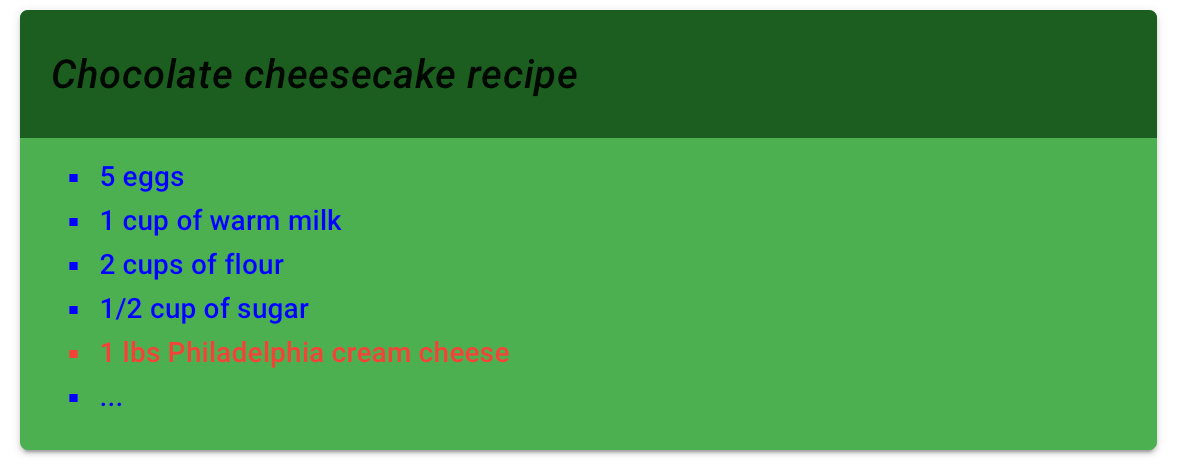
It is worth mentioning that in order for you to use css, you need to know CSS selection queries syntax. Meaning if you want to change the card tilte text to italic, then you need to know how to select that div only. For this I used the Chrome dev tools to inspect the title to see what's the class name for that div. Then I used css to change the style like this .v-card__title { font-style: italic; } so in this case I relied on Vuetify classes. Other than that this method will allow you to use your plain old CSS tricks to style about anything. My rule of thumb, is don't use this method unless Vuetify does not have any prop or class that does what you are looking for.

4- Using a stand alone CSS file
In this method, we will be using plain old CSS tricks like the method above, except that we will be writing our css in an external CSS file. This method would be more suitable if we have shared css that will be used by multiple components. The way to implement this is to save the css file under assets/styles/main.css then import it within specific component or from the App.vue like this:
<template>
...
</template>
<script>
...
</script>
<style>
@import './assets/styles/main.css'
</style>
Conclusion
As you can see in the example above, Vuetify and Vue is very flexible in terms how to acheive some tasks. However you have to use some caution on how to use the methods mentioned above and use the recomended way first before unleashing the power of the full raw CSS files. Also coming in another article the 5th way which will be covered in my next article on how to change styles using themes and SASS variables. Thanks for reading and let me know what is your prefered way or may be another way not mentioned here.